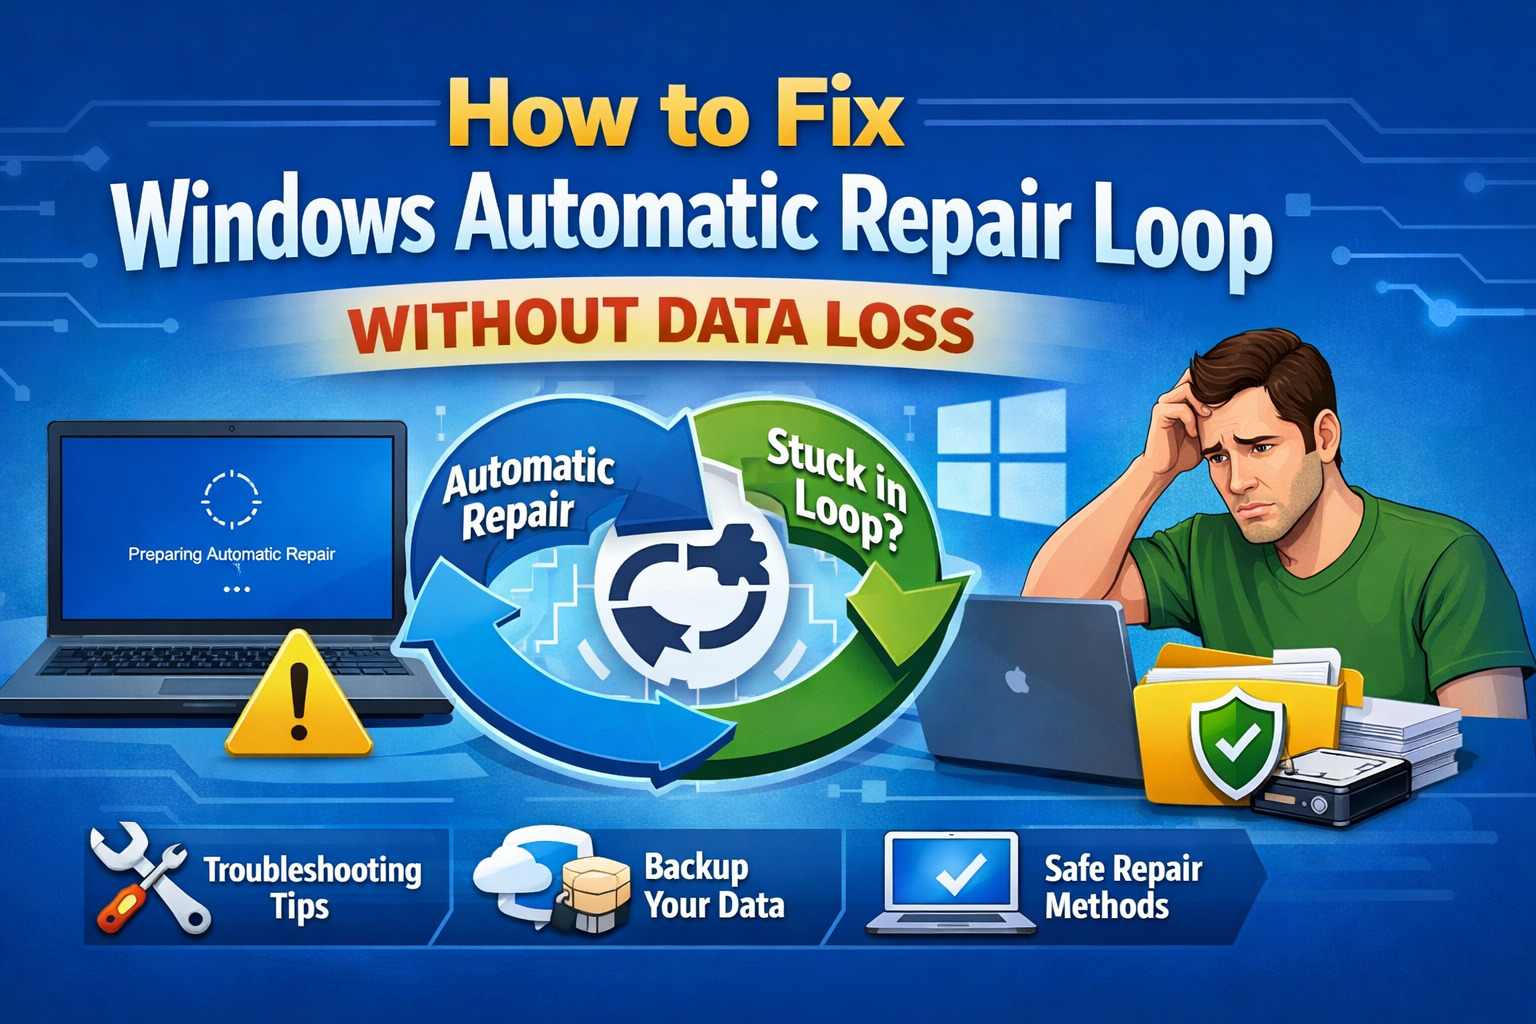
How to Fix Windows Automatic Repair Loop Without Data Loss
If your PC is stuck on “Preparing Automatic Repair” or “Diagnosing your PC” every time it starts, you are not alone. This frustrating issue—known as the Windows Automatic Repair Loop—can happen after a failed update, power outage, or corrupted system file.
The good news? You can fix the Windows Automatic Repair Loop without data loss in most cases. This guide is written for beginners and normal users, using simple steps you can safely follow at home—no advanced technical skills required.
In this article, you’ll learn why the loop happens, how to access recovery tools, and step-by-step solutions that protect your files while restoring Windows to normal.
What Is the Windows Automatic Repair Loop?
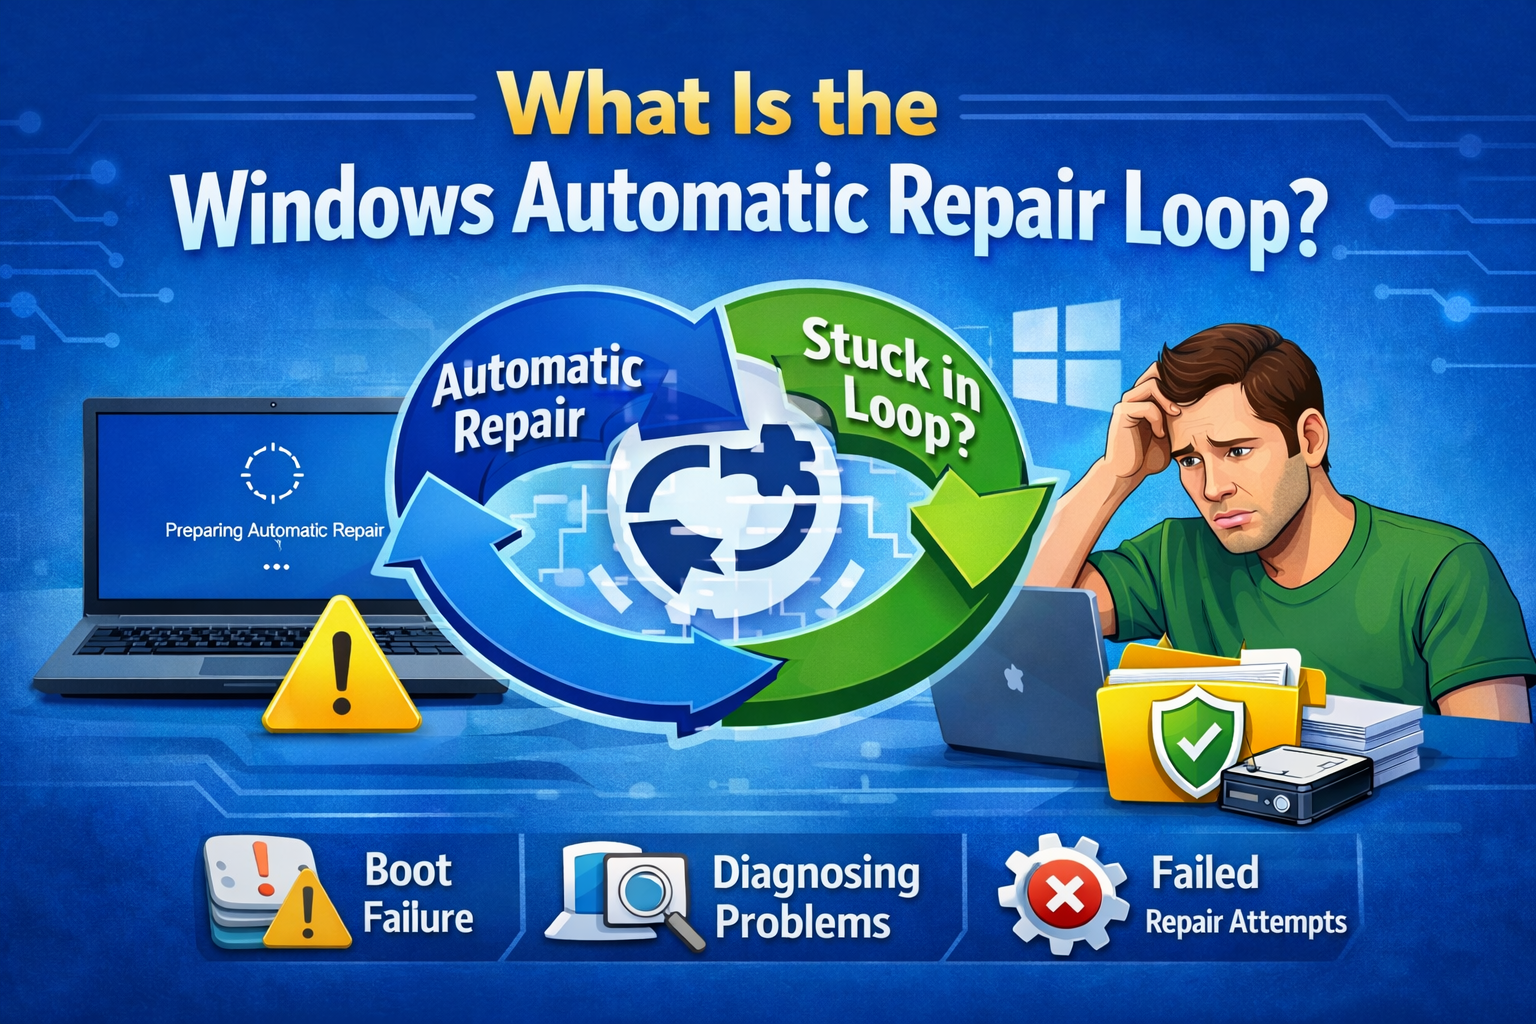
The Windows Automatic Repair Loop happens when Windows detects a startup problem and tries to fix it—but fails repeatedly.
Common Symptoms
- PC restarts endlessly
- Stuck on “Preparing Automatic Repair”
- Stuck on “Diagnosing your PC”
- Blue screen followed by reboot
- Can’t reach the desktop
Why This Happens
- Corrupted system files
- Failed Windows update
- Disk errors or bad sectors
- Incorrect boot configuration
- Driver conflicts
- Sudden power loss
Before You Start: Important Safety Tips
Before fixing the Windows Automatic Repair Loop without data loss, keep these points in mind:
- Do NOT format your drive
- Do NOT reinstall Windows yet
- Work slowly and carefully
- Disconnect USB drives and external devices
Most fixes below are non-destructive and safe for personal files.
How to Access Windows Recovery Environment (WinRE)

To fix this issue, you must enter Windows Recovery Environment.
Method 1: Automatic Entry
If Windows fails to boot 2–3 times, it usually enters WinRE automatically.
Method 2: Force Restart
- Turn on the PC
- When Windows logo appears, hold the power button to turn it off
- Repeat this 3 times
- You should see “Preparing Automatic Repair”
Once inside:
Troubleshoot → Advanced options
Fix Windows Automatic Repair Loop Without Data Loss (Step-by-Step)
1. Run Startup Repair (First & Safest Fix)
Best for: Simple boot errors
Steps:
- Go to Advanced options
- Click Startup Repair
- Select your Windows account
- Enter password if asked
- Wait for repair to complete
Real-world example:
A laptop stuck after a Windows update booted normally after Startup Repair fixed corrupted boot files.
2. Boot Into Safe Mode
Best for: Driver or software conflicts
Steps:
- Advanced options → Startup Settings
- Click Restart
- Press 4 (Enable Safe Mode)
If Windows loads in Safe Mode:
- Uninstall recently installed apps or drivers
- Restart normally
Files remain untouched
3. Disable Automatic Repair (Advanced but Safe)
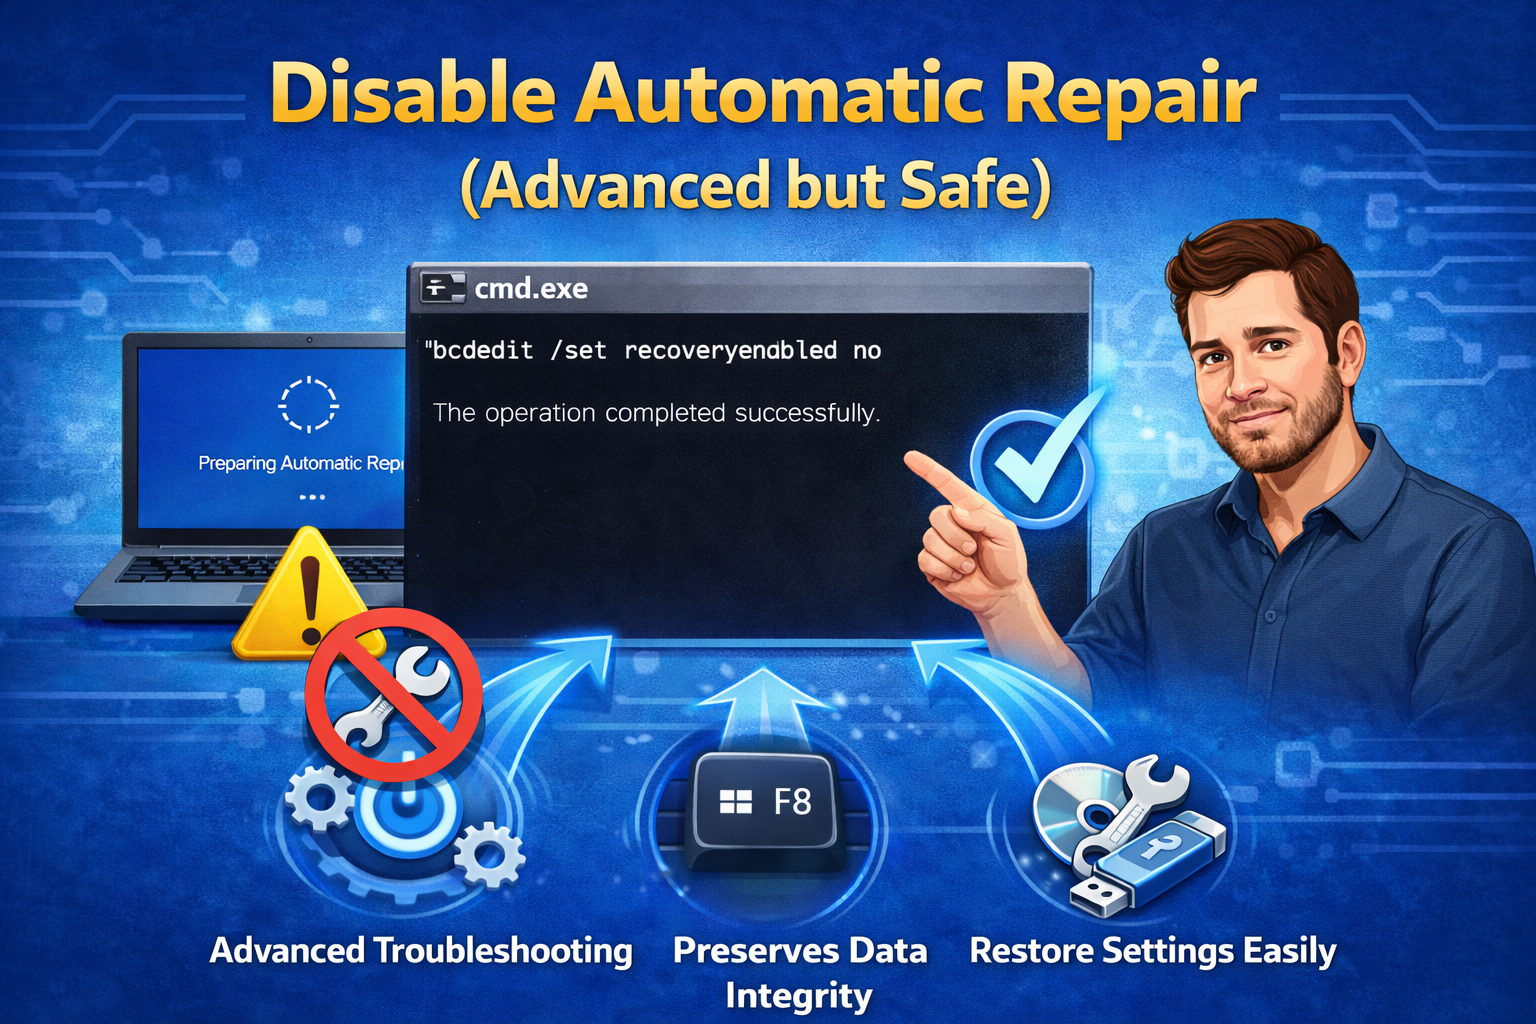
This stops Windows from looping endlessly.
Steps:
- Advanced options → Command Prompt
- Type:
bcdedit /set {default} recoveryenabled No
- Press Enter
- Restart PC
This does not delete data—only disables automatic repair.
4. Fix Disk Errors Using CHKDSK
Best for: Hard drive errors
Steps:
- Advanced options → Command Prompt
- Type:
chkdsk /r c:
- Press Enter
- Wait (may take time)
- Restart PC
Example:
A PC with sudden power loss had disk errors fixed by CHKDSK and booted normally.
5. Repair System Files Using SFC
Best for: Corrupted Windows system files
Steps:
- Command Prompt (from Advanced options)
- Type:
sfc /scannow
- Wait for completion
- Restart
This scans and repairs critical system files without affecting personal data.
6. Use System Restore (No Data Loss)
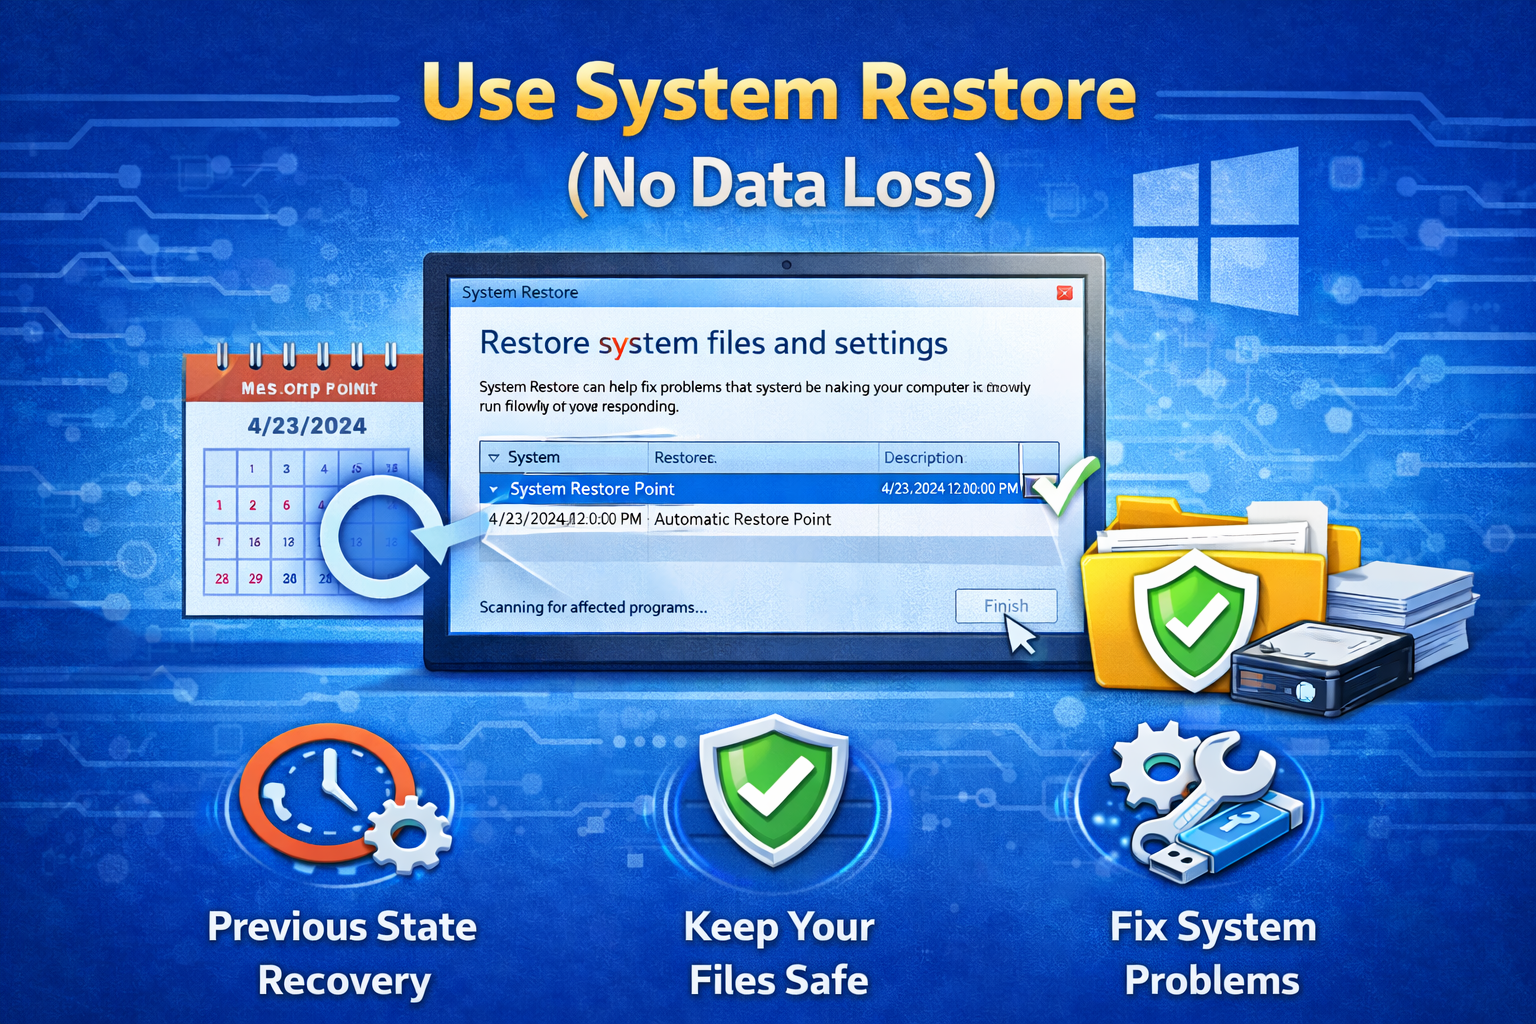
Best for: Recent changes caused the issue
Steps:
- Advanced options → System Restore
- Choose a restore point
- Confirm and wait
System Restore does NOT delete personal files—only system changes.
7. Rebuild Boot Configuration (Last Non-Destructive Fix)
Steps:
- Advanced options → Command Prompt
- Run these commands one by one:
bootrec /fixmbr
bootrec /fixboot
bootrec /scanos
bootrec /rebuildbcd
- Restart PC
This repairs boot-related errors causing the repair loop.
What If Nothing Works?
If the Windows Automatic Repair Loop continues:
Safe Options Before Reset
- Backup files using Command Prompt or bootable USB
- Try Reset this PC → Keep my files
Avoid full reinstall unless absolutely necessary.
Tips to Prevent Automatic Repair Loop in the Future
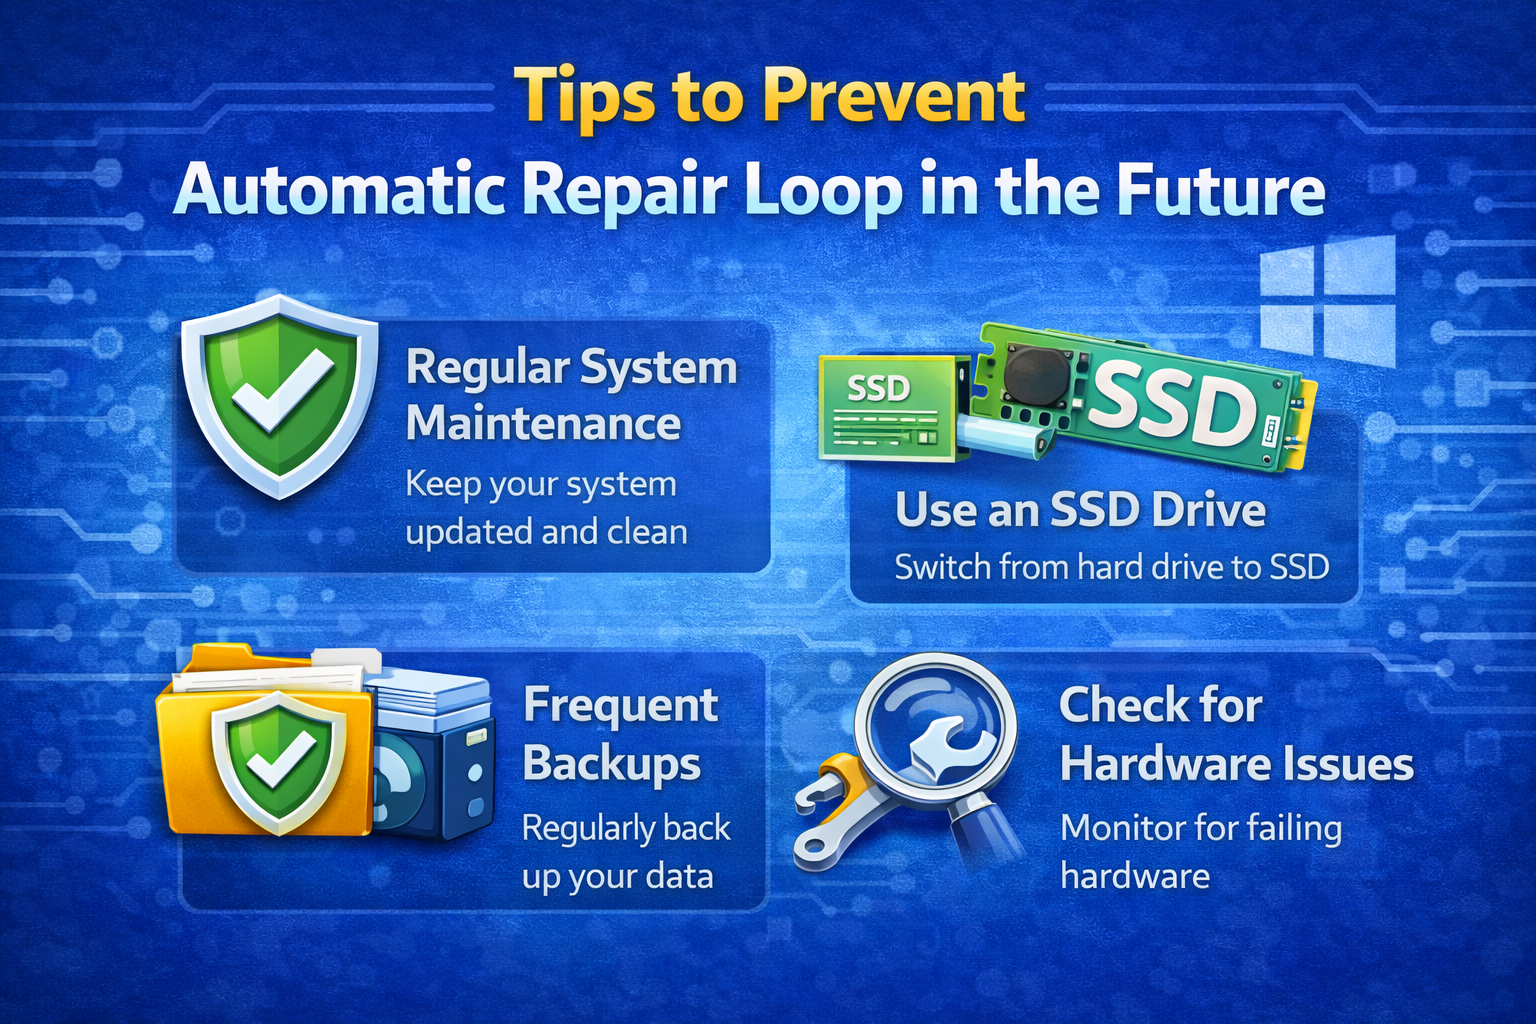
- Keep Windows updated regularly
- Avoid forced shutdowns
- Use a reliable power source or UPS
- Don’t install unknown drivers
- Run disk checks occasionally
Frequently Asked Questions (FAQ)
1. Will fixing the automatic repair loop delete my files?
No. All methods in this guide are designed to fix the issue without data loss.
2. What causes Windows to get stuck in automatic repair?
Common causes include corrupted system files, failed updates, disk errors, or power interruptions.
3. Can I fix the automatic repair loop without reinstalling Windows?
Yes. Most users fix it using Startup Repair, Safe Mode, or Command Prompt tools.
4. Is disabling automatic repair safe?
Yes. It only stops Windows from looping and does not affect files or system stability.
5. When should I reset Windows?
Only if all other fixes fail. Choose “Keep my files” to avoid data loss.
Conclusion
The Windows Automatic Repair Loop can look scary, but in most cases, it’s completely fixable without losing your data. By following the step-by-step solutions in this guide—starting from Startup Repair and Safe Mode to disk and system file repairs—you can safely restore your PC.
Take your time, follow each step carefully, and remember: reinstalling Windows should always be the last option. With patience, your system can be back to normal again.