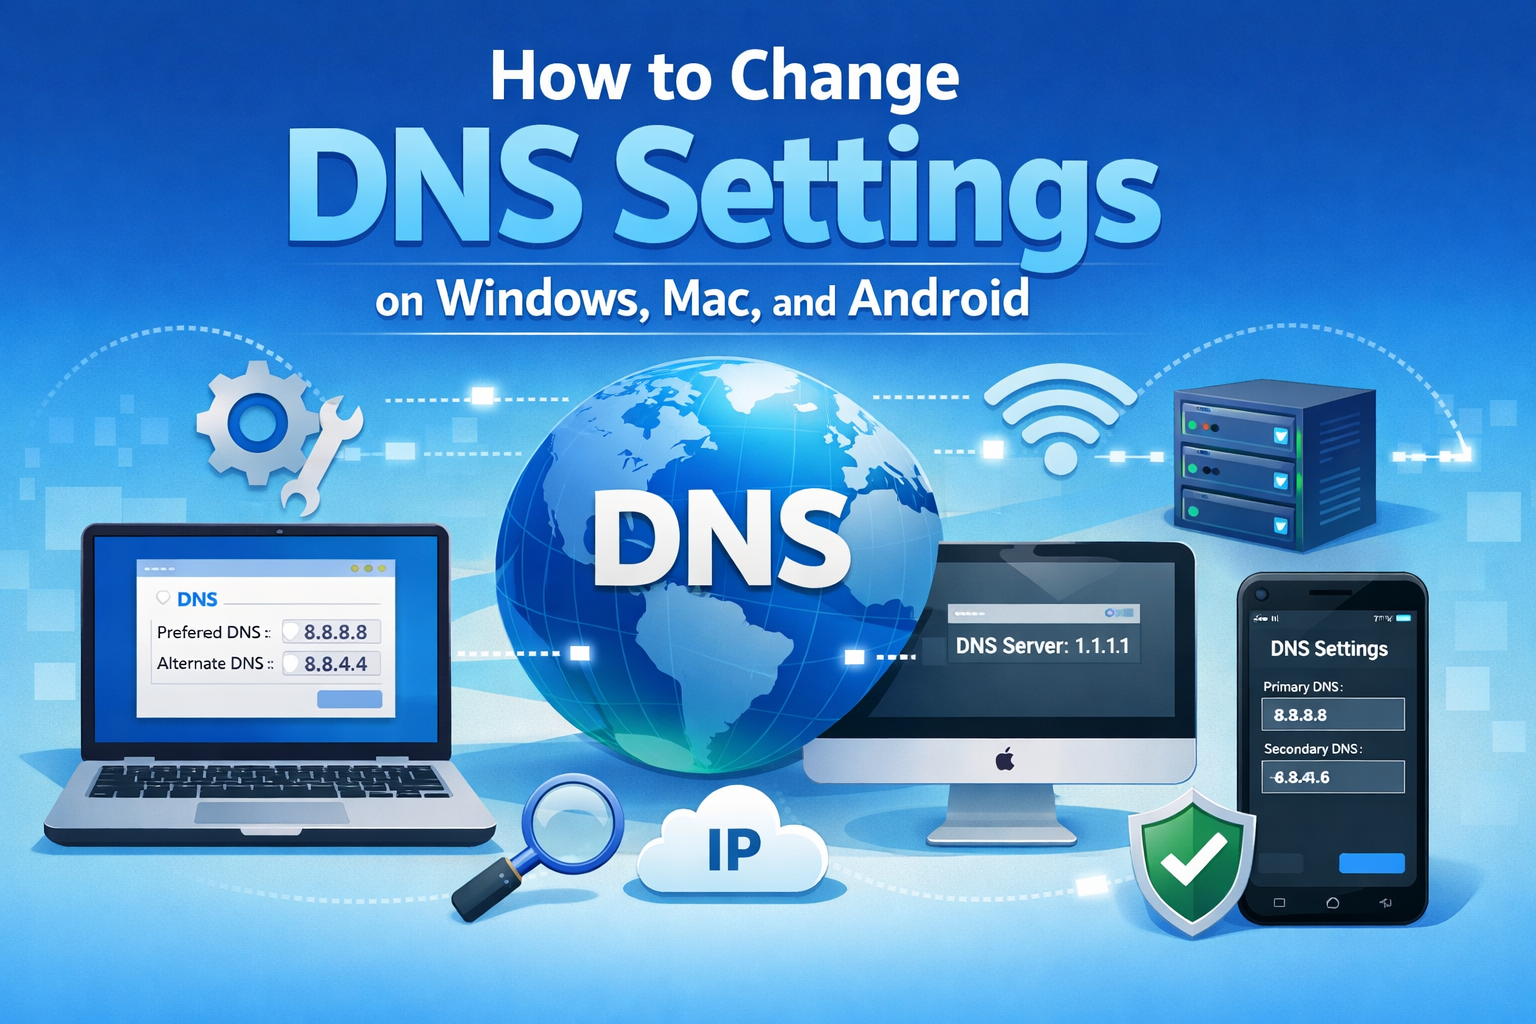
How to Change DNS Settings on Windows, Mac, and Android (Beginner-Friendly Guide)
Slow internet, websites not loading, or frequent connection errors can be very frustrating. In many cases, the problem is not your internet speed but your DNS settings. Learning how to change DNS settings on Windows, Mac, and Androidcan help fix browsing issues, improve speed, and increase online security.
This complete guide explains how to change DNS settings on Windows, Mac, and Android using simple steps. It is written for beginners and normal users, with real-world examples to help you understand why and when changing DNS can solve internet problems.
What Is DNS and Why Does It Matter?
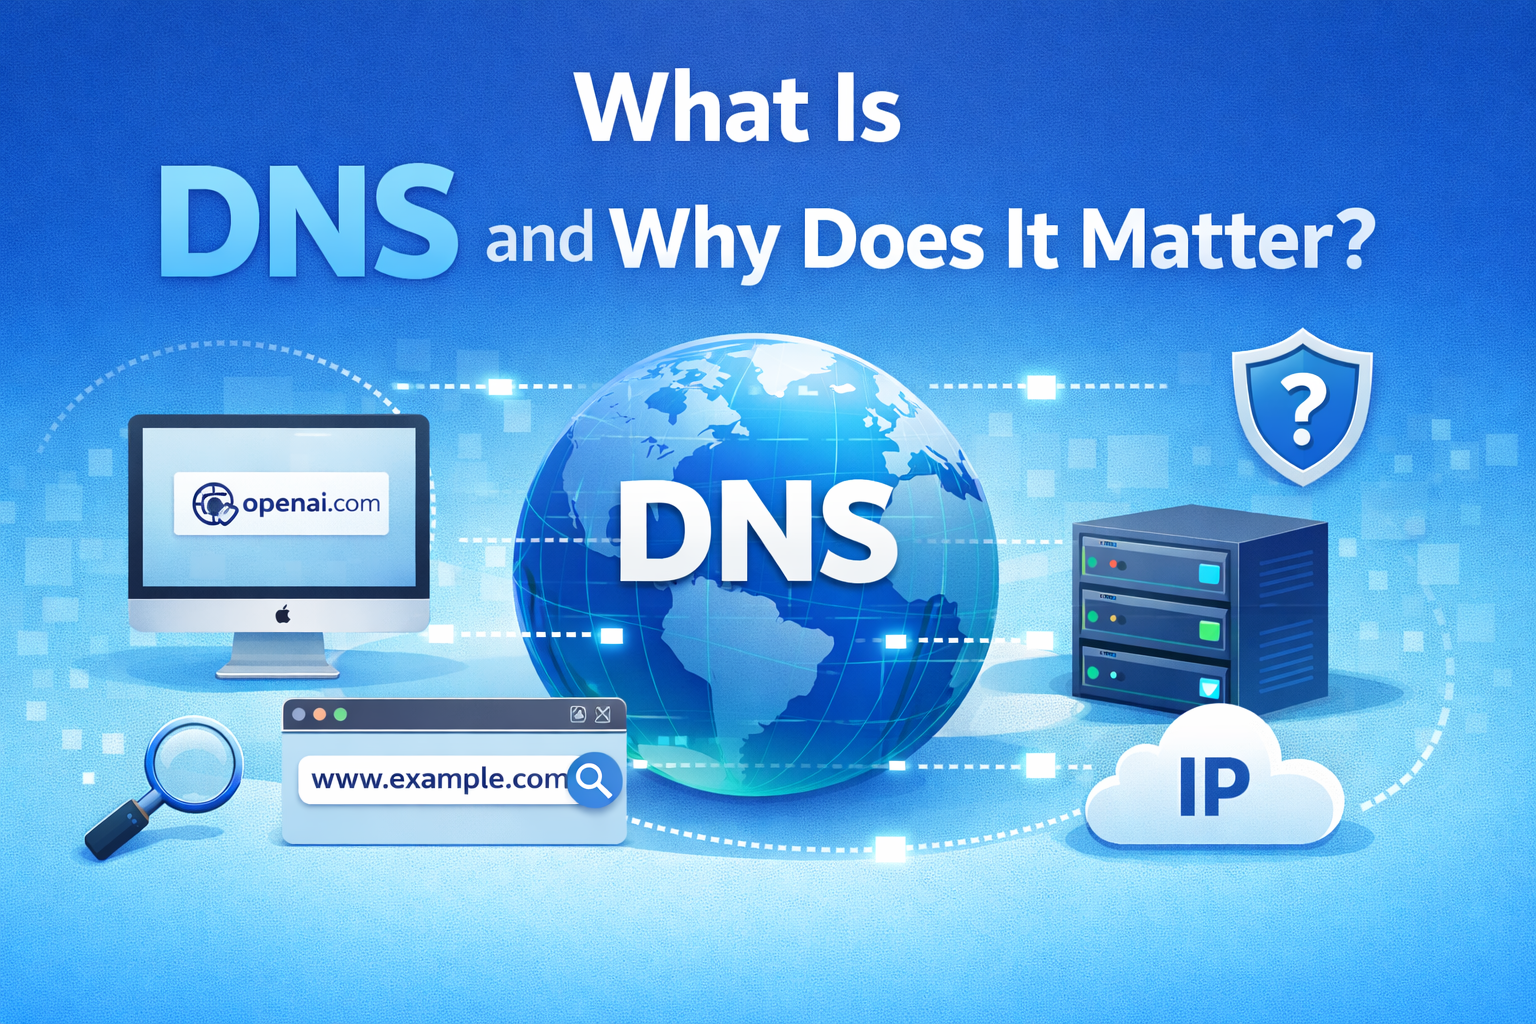
DNS stands for Domain Name System. It works like the phonebook of the internet.
- You type a website name (example.com)
- DNS converts it into an IP address
- Your device connects to the website
If DNS is slow or unreliable, websites may:
- Load slowly
- Fail to open
- Show connection errors
Changing DNS can often fix these issues.
Why You Might Need to Change DNS Settings
Here are common reasons why users change DNS settings:
- Websites not loading properly
- “DNS server not responding” error
- Slow browsing despite fast internet
- Chrome or browser internet connection errors
- ISP DNS being unreliable
- Better privacy and security
Real-world example:
Your internet works, but some websites don’t open or take too long. Changing DNS to Google DNS or Cloudflare often fixes this instantly.
Best Public DNS Servers You Can Use
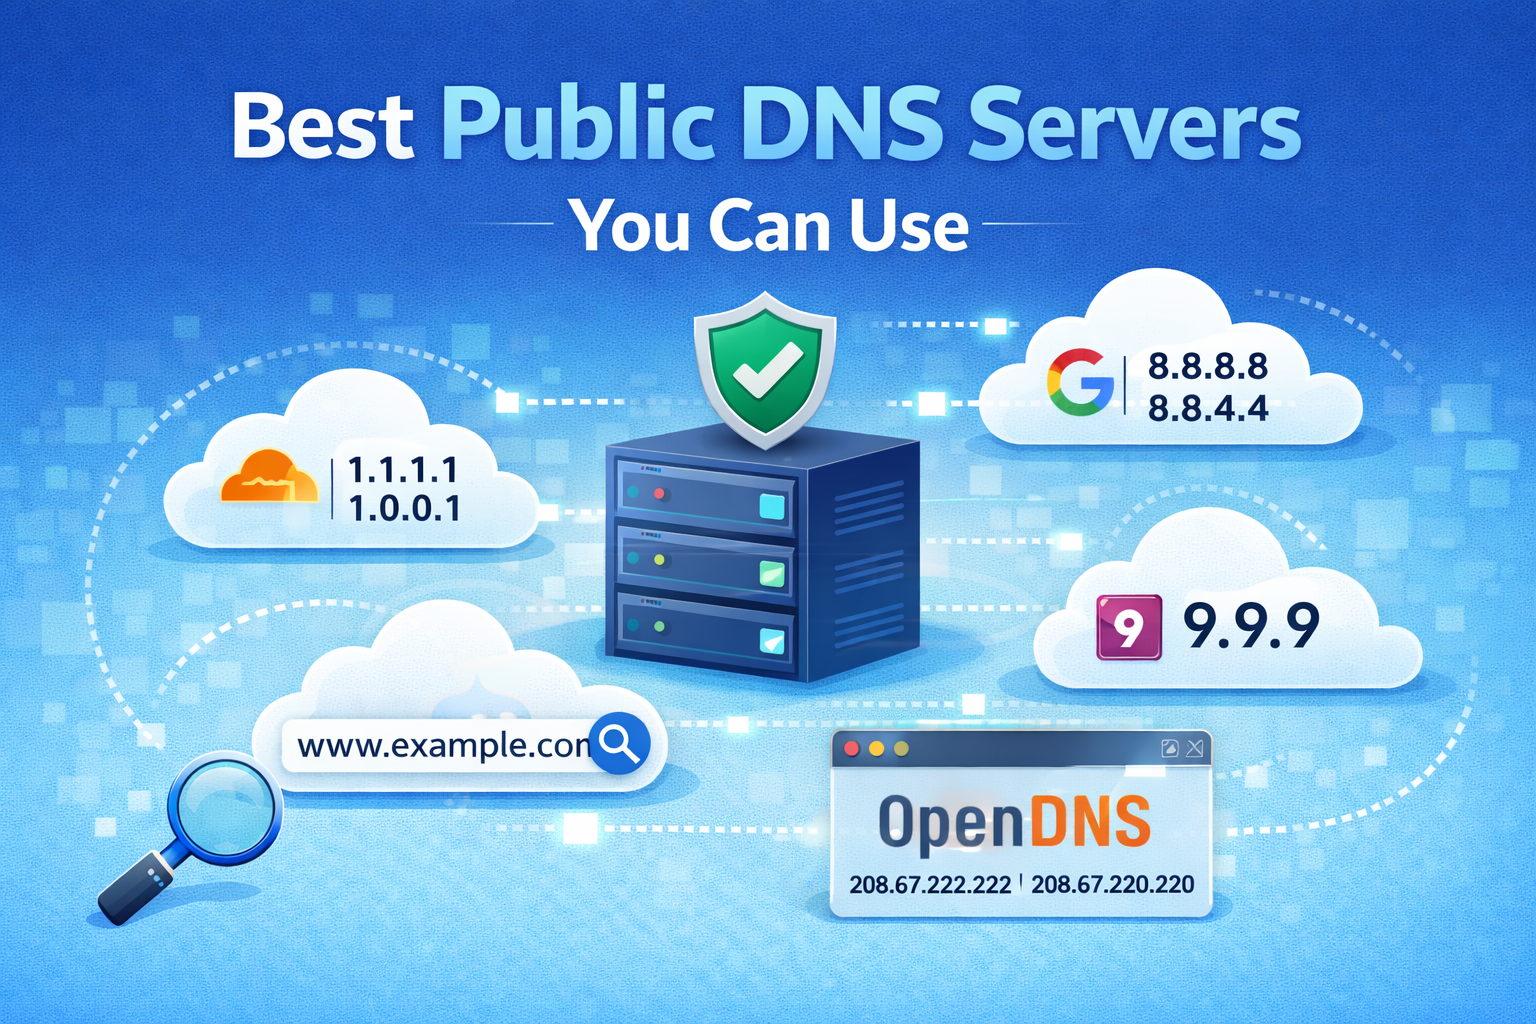
Before changing DNS settings, choose a DNS provider.
Popular DNS Options
- Google DNS
- 8.8.8.8
- 8.8.4.4
- Cloudflare DNS (Fast & Private)
- 1.1.1.1
- 1.0.0.1
- OpenDNS
- 208.67.222.222
- 208.67.220.220
For beginners, Google DNS or Cloudflare DNS are the best choices.
How to Change DNS Settings on Windows
This section explains how to change DNS settings on Windows 10 and Windows 11.
How to Change DNS Settings on Windows 10 & 11
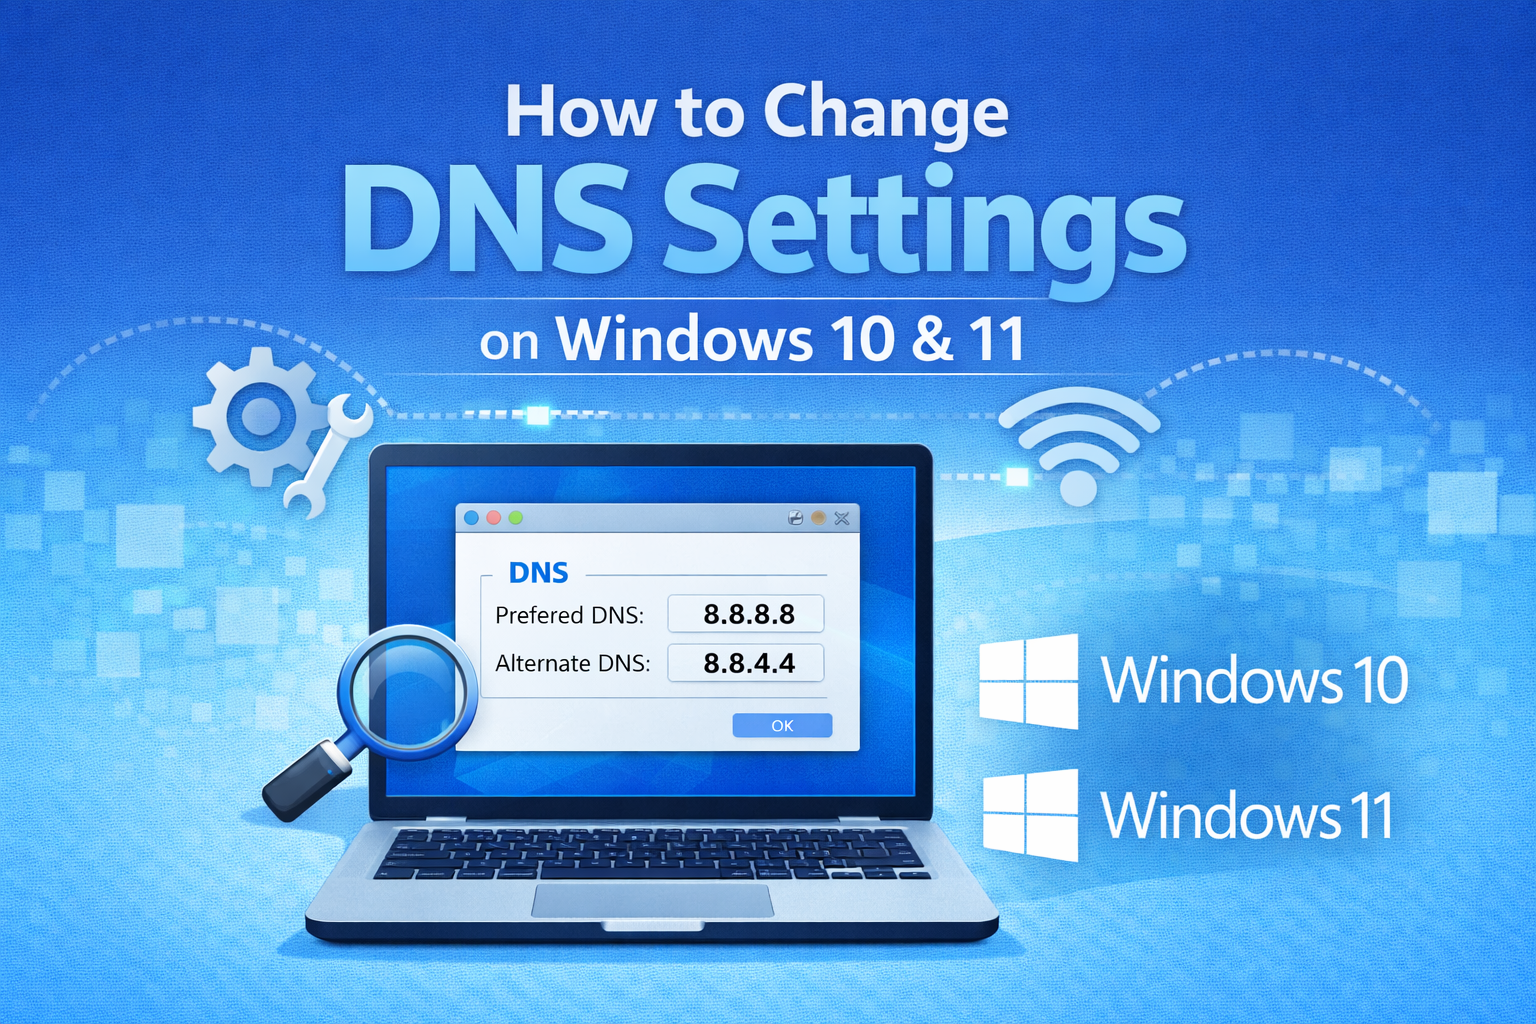
Step-by-Step Instructions
- Click Start and open Settings
- Go to Network & Internet
- Click Advanced network settings
- Select More network adapter options
- Right-click your active connection (Wi-Fi or Ethernet)
- Choose Properties
- Double-click Internet Protocol Version 4 (IPv4)
- Select Use the following DNS server addresses
- Enter:
- Preferred DNS:
8.8.8.8 - Alternate DNS:
8.8.4.4
- Preferred DNS:
- Click OK and close all windows
Restart your browser to apply changes.
Optional: Change IPv6 DNS (Advanced)
If your network uses IPv6:
- Use:
2001:4860:4860::88882001:4860:4860::8844
Real-World Example (Windows)
A user gets “DNS server not responding” on Windows. After switching to Google DNS, websites start loading normally.
How to Change DNS Settings on Mac (macOS)
Now let’s look at how to change DNS settings on Mac.
How to Change DNS Settings on macOS
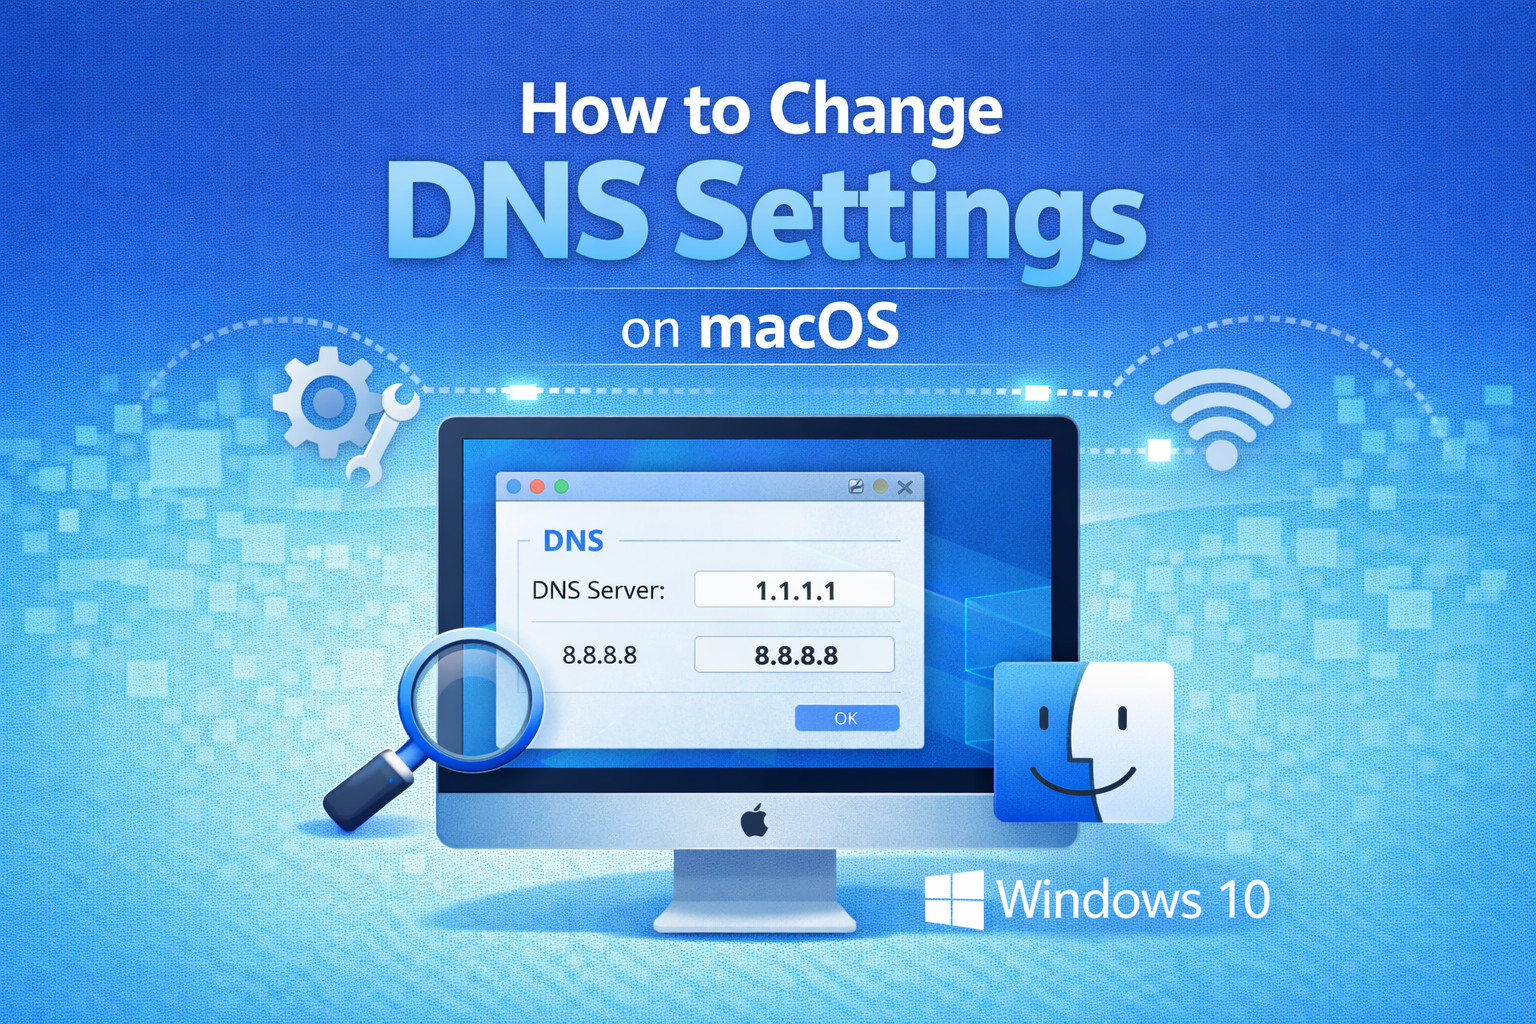
Step-by-Step Instructions
- Click the Apple menu
- Go to System Settings (or System Preferences)
- Click Network
- Select your active connection (Wi-Fi or Ethernet)
- Click Details or Advanced
- Open the DNS tab
- Click the + button
- Add:
1.1.1.11.0.0.1
- Click OK → Apply
Your Mac will now use the new DNS servers.
Real-World Example (Mac)
A MacBook connects to Wi-Fi but Safari shows “Cannot open page”. Changing DNS to Cloudflare fixes the issue immediately.
How to Change DNS Settings on Android
You can change DNS on Android using Private DNS or Wi-Fi settings.
Method 1: Change DNS Using Private DNS (Recommended)
Available on Android 9 and newer.
Steps:
- Open Settings
- Tap Network & Internet
- Select Private DNS
- Choose Private DNS provider hostname
- Enter:
dns.google(Google DNS)- or
1dot1dot1dot1.cloudflare-dns.com
- Tap Save
This method encrypts DNS queries for better security.
Method 2: Change DNS for Wi-Fi Network Only
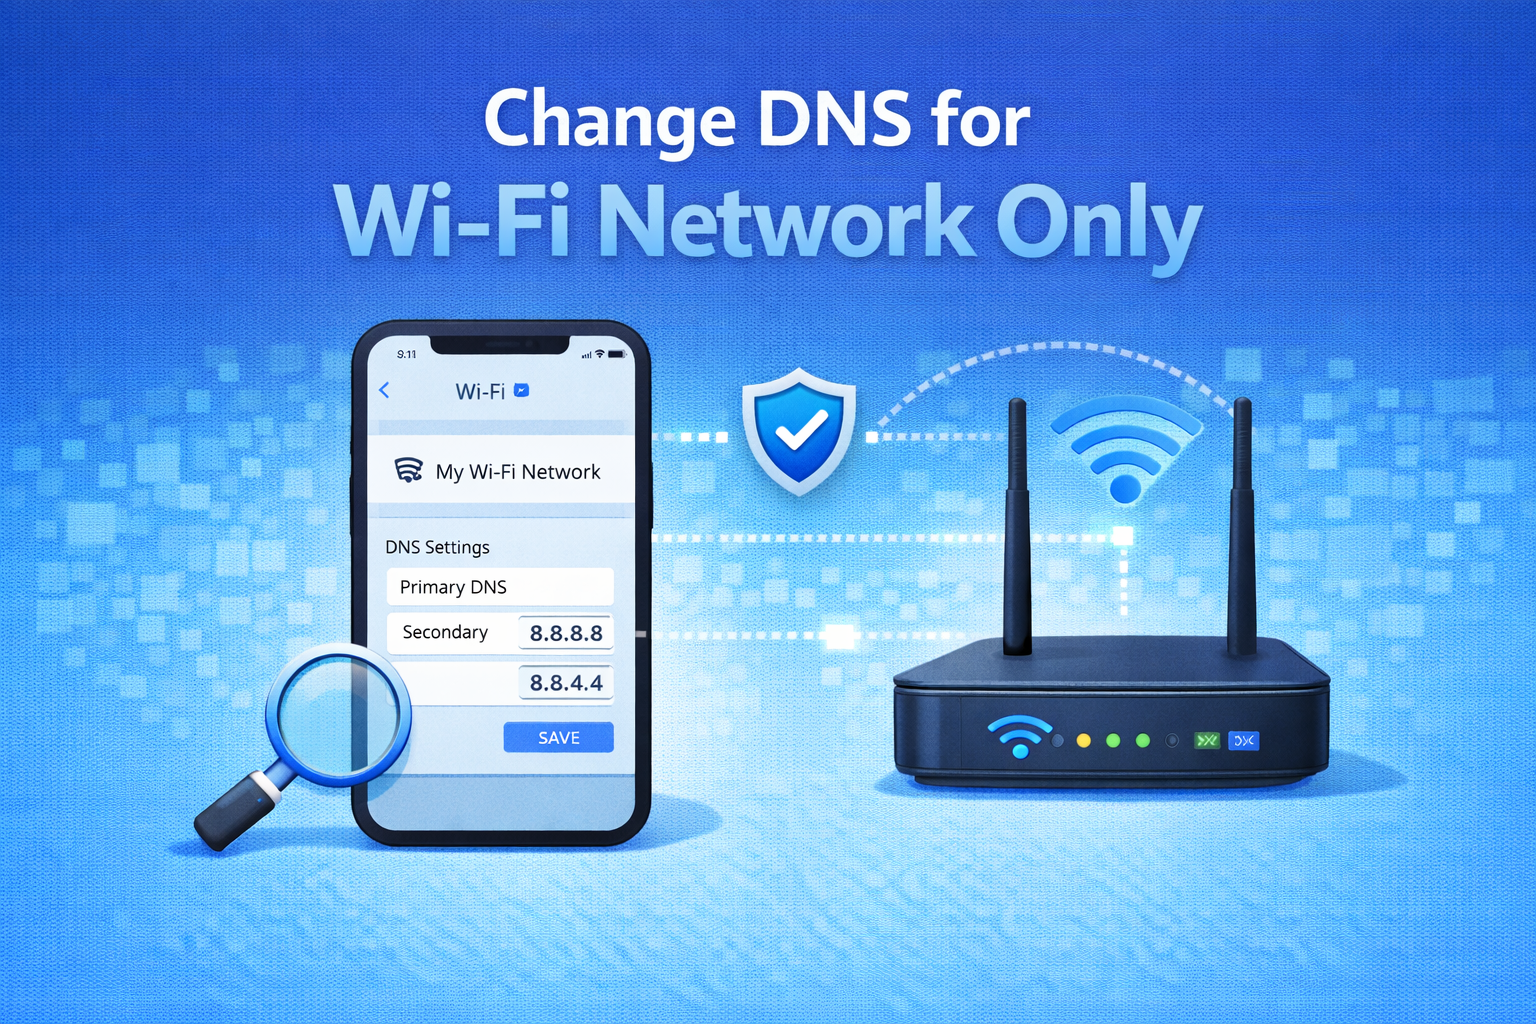
Steps:
- Open Settings > Wi-Fi
- Tap and hold your connected Wi-Fi
- Select Modify network
- Choose Advanced options
- Change IP settings to Static
- Enter DNS:
- DNS 1:
8.8.8.8 - DNS 2:
8.8.4.4
- DNS 1:
- Save settings
Real-World Example (Android)
Chrome shows “This site can’t be reached” on mobile data. Setting Private DNS fixes browsing errors.
Should You Change DNS on All Devices?
Yes, especially if you experience:
- Frequent internet connection errors
- Slow website loading
- DNS-related browser issues
However, DNS changes apply per device, unless set on the router.
Change DNS on Router (Optional)
Changing DNS on the router applies it to all devices.
General Steps:
- Open router admin panel (192.168.1.1)
- Log in
- Find Internet / DNS settings
- Enter custom DNS
- Save and restart router
Router interfaces vary by brand.
Benefits of Changing DNS Settings
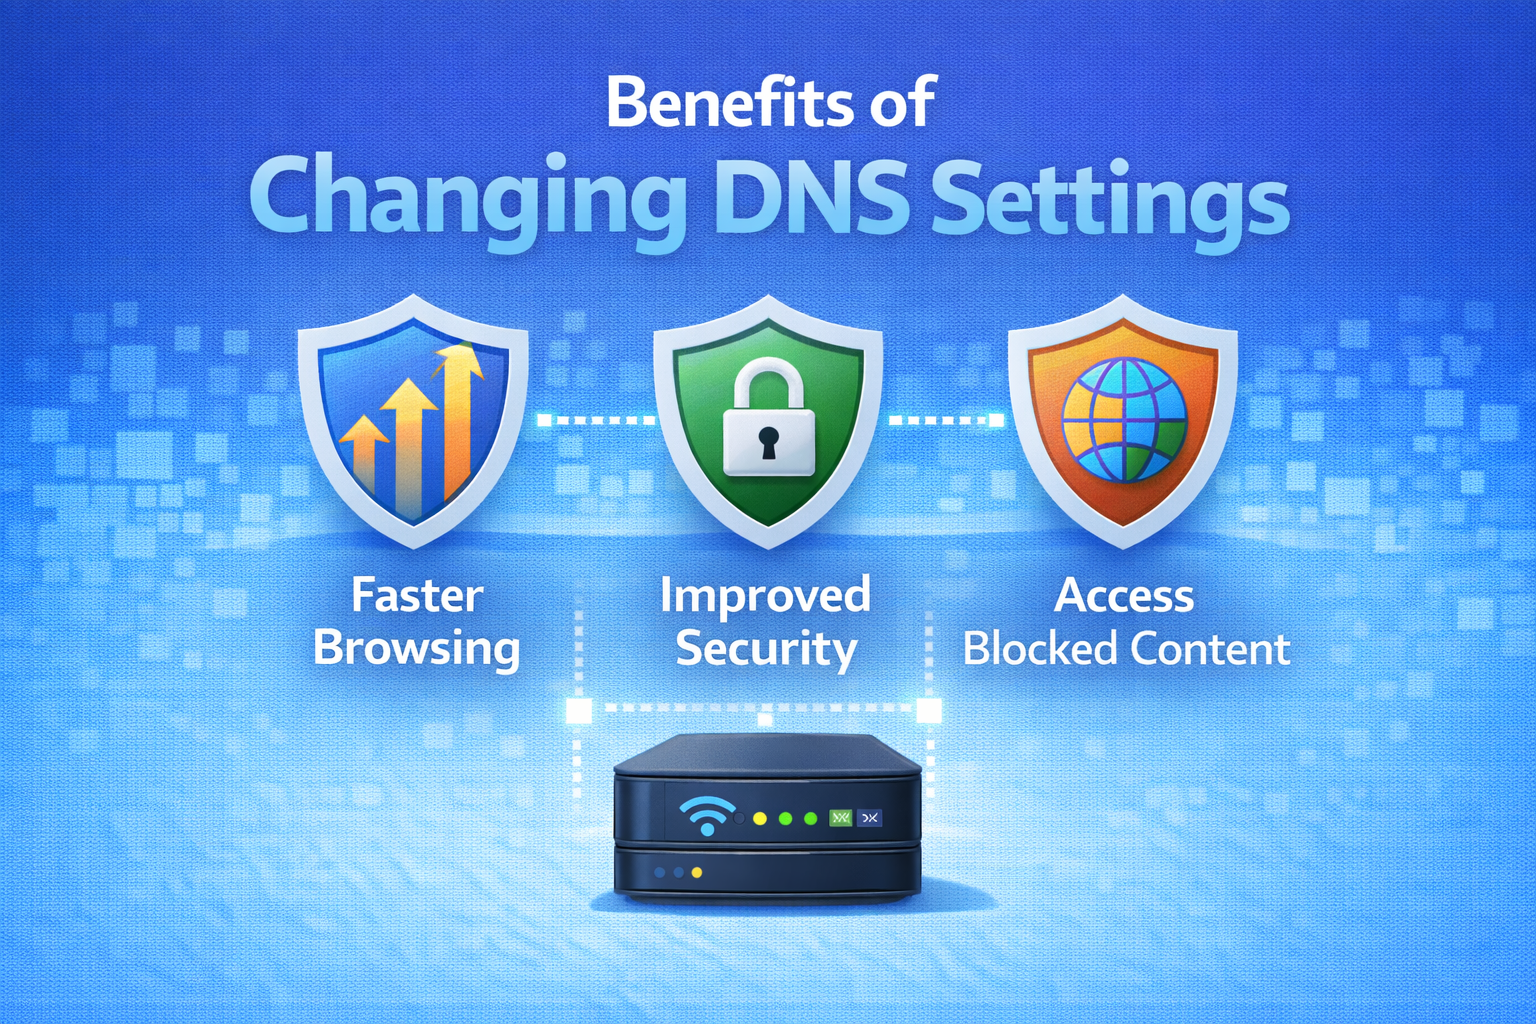
- Faster website loading
- Better reliability
- Improved privacy
- Bypass ISP DNS issues
- Fix browser connection errors
Common Mistakes to Avoid
- Typing DNS numbers incorrectly
- Forgetting to save changes
- Mixing IPv4 and IPv6 incorrectly
- Using unknown DNS providers
FAQ: How to Change DNS Settings on Windows, Mac, and Android
1. Is it safe to change DNS settings?
Yes. Using trusted providers like Google or Cloudflare is safe and secure.
2. Will changing DNS increase internet speed?
DNS won’t increase download speed, but it can improve website loading time.
3. Can changing DNS fix Chrome internet errors?
Yes. Many Chrome errors are DNS-related and fixed by changing DNS.
4. Do I need to restart my device after changing DNS?
It’s recommended, especially on Windows and Android.
5. Should I use automatic or manual DNS?
Manual DNS is better if your ISP DNS is slow or unreliable.
Conclusion
Learning how to change DNS settings on Windows, Mac, and Android is a simple but powerful way to fix internet connection problems. Whether you’re facing slow browsing, DNS errors, or websites not loading, changing DNS can often solve the issue in minutes.
The steps are easy, safe, and reversible. Try Google DNS or Cloudflare DNS, follow the instructions carefully, and enjoy a smoother, more reliable internet experience.