How to Flush DNS Cache to Fix Internet Issues
If your internet suddenly stops working, websites won’t load, or you keep seeing “DNS server not responding” errors, one simple fix can save you a lot of frustration: flush DNS cache.
Many beginners don’t know that your computer stores DNS information locally. When this data becomes outdated or corrupted, it can cause internet issues—even if your Wi-Fi or mobile data is connected. The good news? Learning how to flush DNS cache to fix internet issues is easy, safe, and takes less than a minute.
In this guide, you’ll learn what DNS cache is, why it causes problems, and step-by-step instructions to clear DNS cache on Windows, macOS, Linux, Android, and iPhone—using simple language anyone can follow.
What Is DNS Cache (In Simple Terms)?
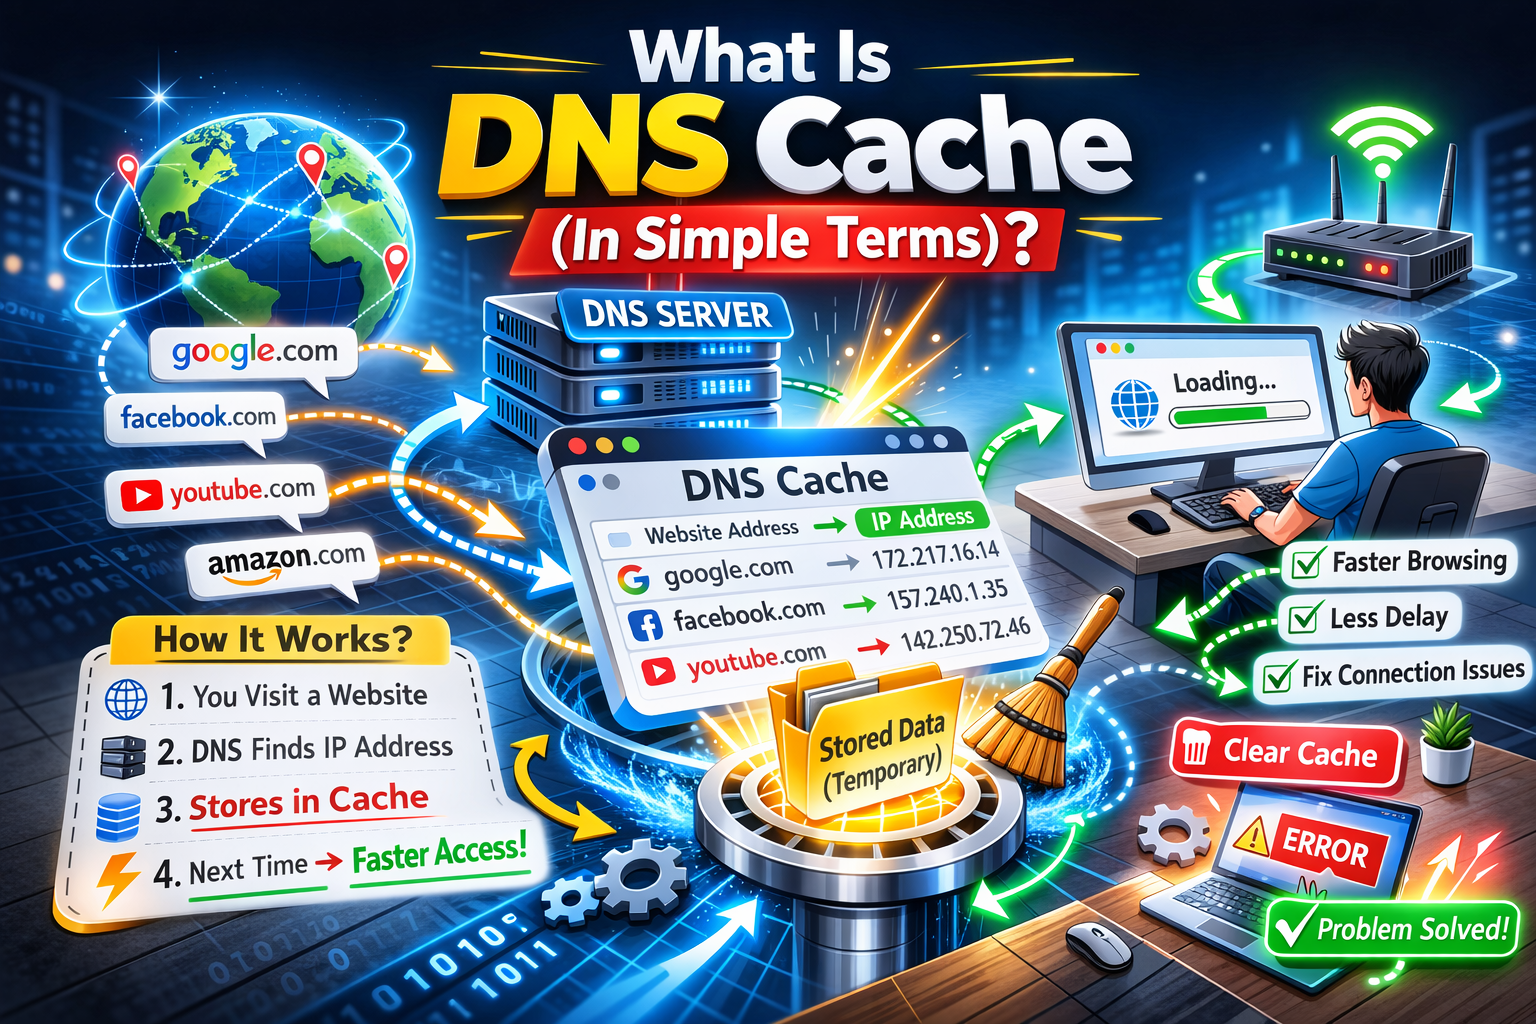
DNS stands for Domain Name System. Think of it as the internet’s phone book.
- When you type
google.com - Your device asks DNS: “What is the IP address for this website?”
- DNS replies with a number like
142.250.72.14 - Your device saves this info in DNS cache
DNS cache helps websites load faster next time.
But when the cached data is wrong or outdated, problems begin.
Why DNS Cache Causes Internet Problems
DNS cache issues are more common than you think. Here are the main reasons:
Common DNS Cache Problems
- Website IP address has changed
- ISP updated DNS records
- You switched networks (Wi-Fi to mobile data)
- Malware or VPN altered DNS settings
- Router stored incorrect DNS data
Symptoms You May Notice
- Websites not loading but internet is connected
- “This site can’t be reached”
- DNS_PROBE_FINISHED_NXDOMAIN error
- Some websites work, others don’t
- Internet works on one device but not another
In these cases, flushing DNS cache often fixes the problem instantly.
When Should You Flush DNS Cache?

You should flush DNS cache if:
- Internet suddenly stops working
- Websites load on mobile but not on PC
- You changed DNS settings
- You recently removed malware
- You switched ISPs or routers
- You can’t access a specific website
It’s a safe troubleshooting step and won’t harm your system.
How to Flush DNS Cache on Windows (Step-by-Step)
This method works on Windows 11, Windows 10, Windows 8, and Windows 7.
Steps:
- Press Windows + S
- Type cmd
- Right-click Command Prompt
- Select Run as administrator
- Type the command below and press Enter:
ipconfig /flushdns
- You’ll see:
“Successfully flushed the DNS Resolver Cache.”
Real-World Example
A Windows 10 user couldn’t open Facebook, but other sites worked. After flushing DNS cache, Facebook loaded immediately without restarting the PC.
How to Flush DNS Cache on macOS (MacBook & iMac)

DNS commands vary slightly by macOS version, but this one works for most modern Macs.
Steps:
- Open Spotlight (Cmd + Space)
- Type Terminal and open it
- Paste this command and press Enter:
sudo killall -HUP mDNSResponder
- Enter your Mac password
- Press Enter again
No confirmation message is normal—DNS cache is cleared.
Real-World Example
After a macOS update, a user couldn’t access their company website. Flushing DNS cache fixed the issue without reinstalling macOS.
How to Flush DNS Cache on Linux
Linux users usually need Terminal access.
Steps (Ubuntu / Debian):
- Open Terminal
- Run this command:
sudo systemd-resolve --flush-caches
- Enter your password
To Verify (Optional):
systemd-resolve --statistics
If cache size shows zero, it worked.
How to Clear DNS Cache on Android
![]()
Android doesn’t have a direct “flush DNS” button, but these methods work.
Method 1: Toggle Airplane Mode
- Turn Airplane Mode ON
- Wait 30 seconds
- Turn it OFF
Method 2: Restart Phone
A simple restart clears DNS cache automatically.
Method 3: Change Network
Switch from Wi-Fi to mobile data (or vice versa).
How to Flush DNS Cache on iPhone (iOS)
iPhones clear DNS cache differently.
Method 1: Airplane Mode
- Enable Airplane Mode
- Wait 30 seconds
- Disable it
Method 2: Restart iPhone
- Hold Power button
- Slide to power off
- Turn it back on
Method 3: Reset Network Settings (Advanced)
Only use this if nothing else works:
- Settings → General → Transfer or Reset iPhone
- Reset → Reset Network Settings
This removes saved Wi-Fi passwords.
Flush DNS Cache on Your Router (Optional but Helpful)
Sometimes the problem isn’t your device—it’s your router.
Steps:
- Unplug router power cable
- Wait 60 seconds
- Plug it back in
- Wait until internet reconnects
This clears router DNS cache and fixes network-wide issues.
Does Flushing DNS Cache Delete Anything?
No. Flushing DNS cache:
- Does NOT delete files
- Does NOT remove apps
- Does NOT reset settings
- Does NOT slow down your internet
It only removes outdated DNS records and forces your device to fetch fresh ones.
Extra Tips If DNS Flush Doesn’t Fix Internet Issues
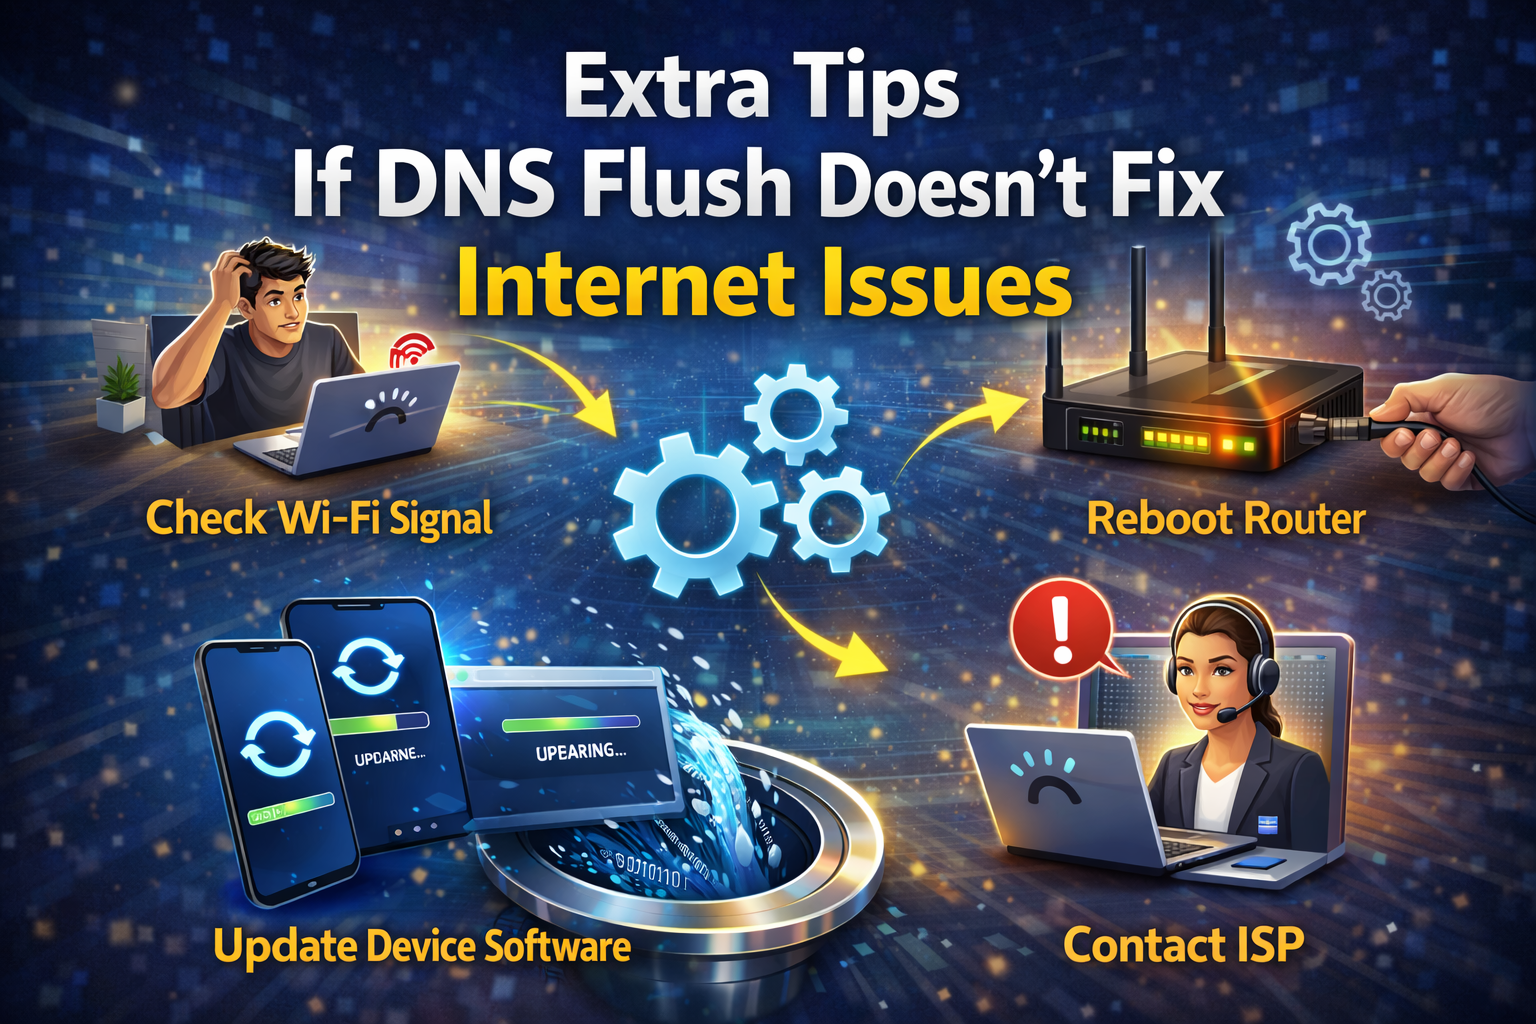
If problems continue, try these:
- Change DNS to Google DNS (8.8.8.8 / 8.8.4.4)
- Restart modem and router
- Disable VPN temporarily
- Update network drivers
- Check ISP outages
- Run Windows Network Troubleshooter
DNS flush solves many issues, but not all.
Frequently Asked Questions (FAQ)
1. Is it safe to flush DNS cache?
Yes. Flushing DNS cache is 100% safe and recommended by IT professionals.
2. How often should I flush DNS cache?
Only when you have internet or website access problems. Daily flushing is unnecessary.
3. Does flushing DNS speed up internet?
It can fix slow loading caused by bad DNS records, but it doesn’t increase bandwidth.
4. Why does internet work on phone but not PC?
Your PC may have outdated DNS cache. Flushing DNS often fixes this issue.
5. Do I need admin rights to flush DNS?
Yes, on Windows and macOS, administrator permission is required.
Conclusion
Knowing how to flush DNS cache to fix internet issues is a powerful troubleshooting skill that every internet user should have. It’s fast, safe, free, and often solves problems that look serious at first.
Whether you’re using Windows, Mac, Linux, Android, or iPhone, clearing DNS cache can instantly restore broken websites and unstable connections. Before calling your ISP or reinstalling your system, try flushing DNS cache—it might be the quickest fix you’ll ever use.